Step 1: Start your Adobe Photoshop and Press Ctrl+N to create new document:
 Step 2:
 Use Ellipse Tool (U) to draw one circle:

Rename Shape Layer (Shape 1) you have created to Base.
Step 3: Double click on base layer to open Layer Style, set your Layer Style like:

Your document now look like:
 Step 4:
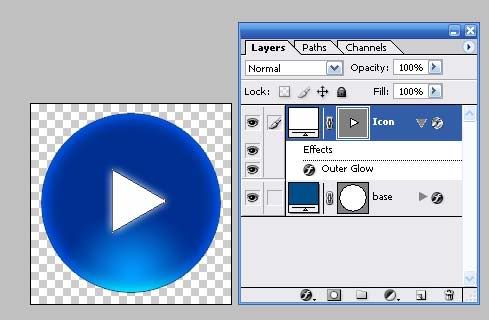
 Create new Layer and rename it to Icon. Use Custom Shape Tool (U) to draw one icon you like.
 Step 5:
 Create new Layer and rename it to Highlight. Use Pen Tool (P) to draw a custom path like:

Right Click on the path you have create and choice Make Selection... One dialog appear, select Intersect with Selection and then click OK to apply.
Step 6: Use Gradiant Tool (G) to draw gradiant into your selection in Highlight layer.
Your document now will look like:
 Step 7:
 Create New Layer and rename it to shadow » On this shadow layer, Ctrl+Click on base Layer to create Seclection » Fill it with color Black » Move this layer to bottom of your Layers

Press Ctrl+D to deselect. Press Ctrl+T to Free Transform:
Height: 15%
Width: 80%
Set this layer Opacity to 90%
 Step 8:
 Now, click Filter » Blur » Blur More
Then Press Ctrl+F to repeat this Filter until you can reach like the final result.
 Hope you can do well!


 Anonymous said,