Powered by Blogger
Get Firefox!
Text Link Ads
Earn Money Fast and Easily with adBrite Now!
PlugIn.ws - Free Hit Counter, Web Site Statistics, Traffic Analysis
Tutorial Top Sites - The Best Free Tutorial Sites!
Text Link Ads

NEW PHOTOSHOP TUTORIAL ADDED!

post by Nguyễn Trường Giang @ 9:04 PM | 0 comments
Submit this post to:
Digg  del.icio.us  Furl  BlinkList  Shadows  RawSugar  Netvouz  Yahoo! My Web  Clesto  Reddit  Add this page to Google  spURL 
Text Link Ads

PROFESSIONAL CONTENT BOX

post by Nguyễn Trường Giang @ 8:41 PM | 7 comments

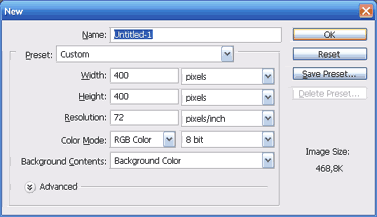
Step 1: Create New Photoshop Document with background color: #5A5A5A


Step 2: Create New Layer and Rename it to bg. Using Retangular Marquee Tool and draw one Retangular Marquee. Fill it with this pattern:


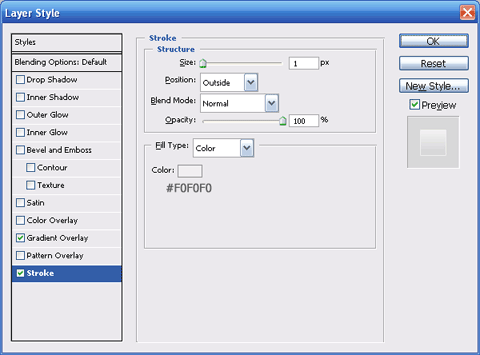
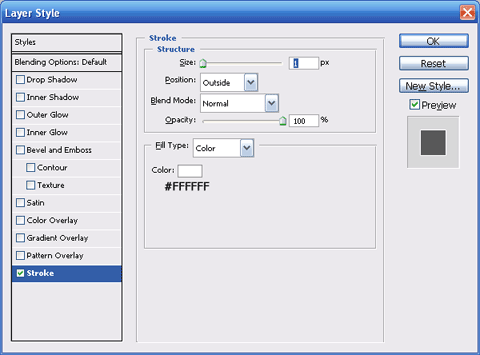
Step 3: Create New Layer and Rename it to Border. On this Layer Click Edit » Stroke, One dialog appear. Apply setting like picture below and click OK button.


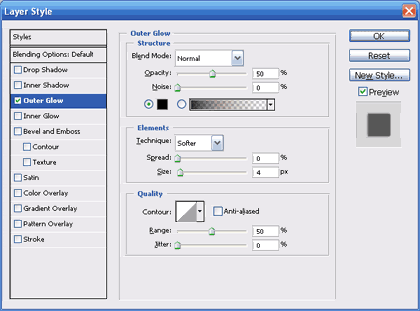
Next, Apply Outer Glow setting for this layer:


Step 4: Create New Layer Between Layer bg and Border and Rename it to line top. Using Retangular Marquee Tool and draw one Retangular Marquee


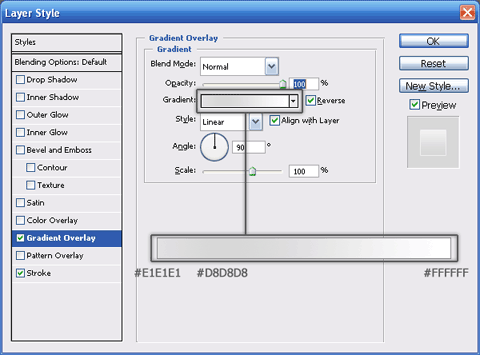
Fill it with any color you like and apply these Layer Style setting:


Duplicate line top Layer and Rename new layer to line bottom. Scroll it to bottom of your content box:
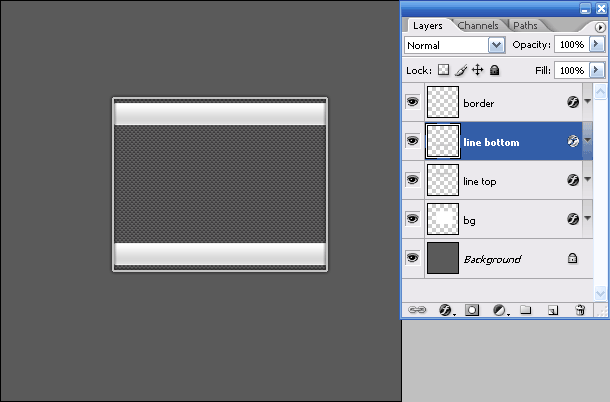


Step 5: Create New Layer and rename to content. On this layer, using Retangular Marquee Tool draw one Retangular Marquee inside your content box, and fill it with color: #C8C8C8


Then, add stroke in Layer Style with Color: #FFFFFF and Size: 1px


Step 6: Create New Group, rename this group to HL and scroll this Group to bottom of your Layers windows:
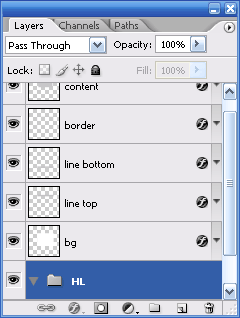

Add new layer in this group and rename it to line, on this layer using Pen Tool to draw one Custom Shape Layer:

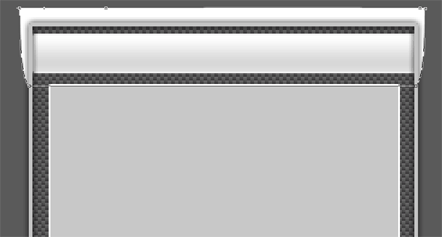

Apply these Layer Style for this layer:


Step 7: Add more details for this group. I added one line at bottom of line Layer:


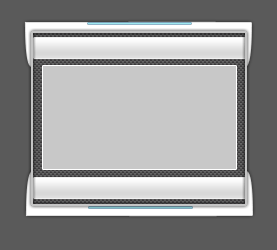
Duplicate HL group and name is HL bottom. Click Edit » Transform » Flip Verticle. Scroll this group content to bottom at your content box:


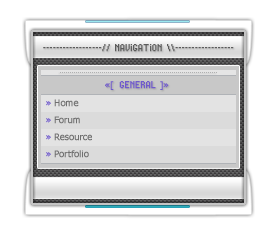
Final: Add content and some details for your content box, here is my final result:
Submit this post to:
Digg  del.icio.us  Furl  BlinkList  Shadows  RawSugar  Netvouz  Yahoo! My Web  Clesto  Reddit  Add this page to Google  spURL 
Anonymous Anonymous said,
comment at 10:20:00 PM 
nice :)
Anonymous Anonymous said,
comment at 1:15:00 AM 
Maybe puttin' download link for that pattern on it?
Anonymous Anonymous said,
comment at 10:37:00 AM 
For the download link, just open the pattern in PS and set it as a pattern and then use it, simple as that.
Anonymous Anonymous said,
comment at 3:28:00 AM 
Nice Tutorial,
Andy
StealthDesignz.com
comment at 5:01:00 PM 
Thanks Andy,
I think you will like it because I wrote this tutorials when see that professional content box in your website!
Anonymous Anonymous said,
comment at 2:38:00 AM 
If you're going to go down the path of making the visitor choose between 1 browser and another, make sure that your page validates in the browser you are targetting.
comment at 11:34:00 AM 
Thank for your advice... !
I will update this blog soon! :D
Text Link Ads

SIMPLE LOGO FOR YOUR WEBSITE!

post by Nguyễn Trường Giang @ 1:37 PM | 1 comments
Final Result

Step 1: Start your Adobe Photoshop and Press Ctrl+N to create new document:


Step 2: Use Ellipse Tool (U) to draw one circle:


Rename Shape Layer (Shape 1) you have created to Base.


Step 3: Double click on base layer to open Layer Style, set your Layer Style like:


Your document now look like:


Step 4: Create new Layer and rename it to Icon. Use Custom Shape Tool (U) to draw one icon you like.


Step 5: Create new Layer and rename it to Highlight. Use Pen Tool (P) to draw a custom path like:


Right Click on the path you have create and choice Make Selection... One dialog appear, select Intersect with Selection and then click OK to apply.


Step 6: Use Gradiant Tool (G) to draw gradiant into your selection in Highlight layer.


Your document now will look like:


Step 7: Create New Layer and rename it to shadow » On this shadow layer, Ctrl+Click on base Layer to create Seclection » Fill it with color Black » Move this layer to bottom of your Layers


Press Ctrl+D to deselect. Press Ctrl+T to Free Transform:
Height: 15%
Width: 80%
Set this layer Opacity to 90%


Step 8: Now, click Filter » Blur » Blur More
Then Press Ctrl+F to repeat this Filter until you can reach like the final result.
Final Result


Hope you can do well!
Submit this post to:
Digg  del.icio.us  Furl  BlinkList  Shadows  RawSugar  Netvouz  Yahoo! My Web  Clesto  Reddit  Add this page to Google  spURL 
Anonymous Anonymous said,
comment at 11:22:00 AM 
i really love those colors you used, nice work